
Making crochet doll hair changes the personality of a doll almost instantly. A straight bob, a pair of pigtails and a side-swept fringe can all start from the same simple materials. The most useful first decision is whether your doll needs a firm crocheted hair cap, individually attached strands, or a mixture of both.
3 essential tips to remember
- Test a few hair strands before cutting enough for the whole head.
- Leave room for trimming after the hair is attached.
- Check the hairline from the back as well as the front.
Crochet doll hair: choose a hairstyle before attaching yarn
Sketch the front hairline, part and approximate length on paper. Think about whether the doll will be mainly displayed or played with: loose long strands look lovely but may tangle with repeated handling. Select a smooth yarn whose texture and thickness match the size of the doll’s head.
Method one: a crocheted hair cap
Work a shallow round cap in your chosen hair color, using the doll’s existing head as your fit guide. The cap should sit snugly without distorting the face. Pin it in several places, check symmetry around the forehead and ears, then stitch the perimeter to the head with a yarn needle. Use several small stitches instead of a few large ones.
A cap creates a solid-looking base, particularly useful for short hair, buns and styles with an obvious part. Do not glue the cap without checking that the materials are compatible and the glue is appropriate for the intended use.
Method two: attached yarn strands
- Cut a small set of yarn lengths longer than the finished hairstyle requires.
- Fold a strand in half and use a crochet hook or yarn needle to draw the center through a selected stitch.
- Pass both loose ends through the folded loop and tighten gently so the strand sits against the head.
- Repeat in a planned pattern, beginning around the hairline and part.
- Trim only after you have arranged the strands and checked the doll from all sides.
Attaching too many strands at once can make a small head top-heavy. Build gradually, and secure longer strands in braids or ponytails if the doll will be handled often.
Fringes, part lines and finishing
For a side part, direct the front strands diagonally rather than attaching a thick bundle at the center. If you plan two pigtails, mark matching anchor points before gathering the hair. Weave or stitch down any sections that should remain fixed.
Find a doll project
Compare Yarnivelle’s doll with yellow bow PDF with the mini doll with colorful sweater; each offers a different styling direction. Browse more crochet doll patterns, and review crochet pattern abbreviations before starting a new written design.
Practical note: Hair yarn and attachments can loosen over time. Assess the finished item carefully before giving it to young children.
Continue learning
For a related technique or project idea, explore sewing yarn attachments and choosing doll yarn.
Explore crochet PDF patterns from Yarnivelle
Explore doll crochet PDFs with different hairstyles, accessories and outfits to inspire your next project. Every listing is a digital crochet PDF pattern, not a finished crocheted item or supplies.

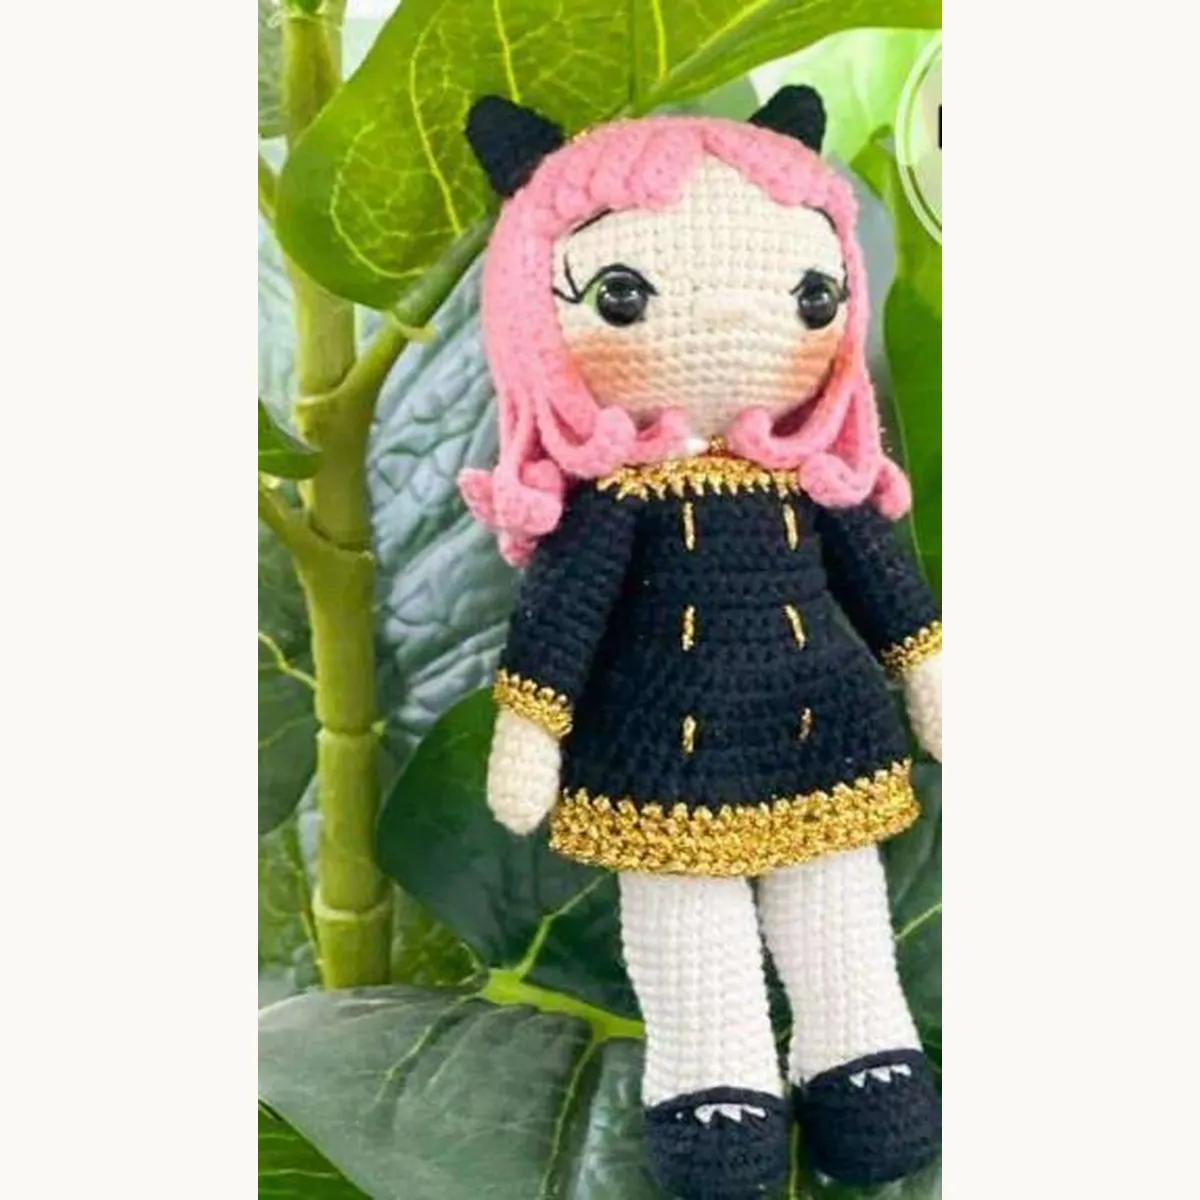

Yarnivelle editorial note: This guide is intended for crochet learning and project inspiration. Linked patterns are digital PDF instructions, not finished handmade items.
Try a small hair sample first
Before cutting enough yarn for the whole head, attach a few test strands to a spare crochet sample. Compare the length after the strands are folded or knotted into position. Leave room for trimming: hair that looks long before attaching can sit much shorter once it follows the curve of the head.
Build the hairstyle in stages and check the back as well as the front. Too many strands can make a small head heavy or cover details you wanted to show. If using a hair cap, pin it temporarily and check the hairline before sewing it down. Keep scissors away from the crocheted head while making the final trim.
For general abbreviation and yarn-symbol references, consult the Craft Yarn Council standards. Follow the terminology and stitch instructions in the particular pattern you are using.
[…] For a related technique or project idea, explore stuffing before assembly and finishing doll hair. […]