
Knowing how to stuff amigurumi is as important as following the stitch count. Even careful crochet can look uneven if fiberfill is pushed into one hard ball, or if a head is stuffed so loosely that it collapses. A better approach is to add small pieces gradually and shape the toy as you work.
3 essential tips to remember
- Add small amounts of filling so you can control the shape.
- Check both sides while the opening is still accessible.
- Reduce filling if it stretches the crochet fabric enough to show gaps.
How to stuff amigurumi: what stuffing works best?
Standard polyester fiberfill is a common choice because it is light, springy and easy to separate into small tufts. Use clean stuffing appropriate to the intended project, and check the fiberfill maker’s care instructions. Yarn scraps can make a toy uneven, while large hard pieces may show through the stitches.
Stuff in small layers
- Gently pull fiberfill apart so it is fluffy rather than compressed.
- Place a little into the lowest point of the shape, such as the nose of an animal head or the toe of a paw.
- Use the blunt end of a crochet hook or a stuffing tool to ease it into corners without piercing the yarn.
- Rotate the piece and distribute the stuffing around the sides before adding more to the center.
- Pause before the opening becomes too narrow to adjust the shape.
How firm should the head feel?
A head should generally hold the intended shape when you press it gently, without showing large gaps between stitches. It is tempting to overstuff to make a perfect sphere, but excess filling can stretch the rounds and expose the fiberfill. Remove a little if the fabric seems strained. Keep some give so the piece still feels pleasant to hold.
Narrow limbs and small ears need different handling
Some amigurumi patterns direct you to fill feet lightly and leave upper arms unstuffed. This lets the limbs bend and join without excessive bulk. Do not assume every crocheted piece should be packed firmly; follow the assembly directions of your chosen pattern.
Fixing lumps, flat spots and an uneven neck
For a lump, tease the stuffing toward thinner areas or remove and redistribute it before closing. For a flat spot, add a small tuft behind the area rather than a large wad directly underneath. If a head tips forward, inspect both the neck stuffing and the strength of the attachment seam.
Project ideas to practice shaping
Compare the softer silhouette of a chubby sheep pattern with the rounded details in the plush puppy pattern, or browse the full amigurumi animal collection. If you are new to crochet terminology, read how to read crochet patterns first.
Safety reminder: For items intended for children, use suitable materials and assess the whole finished project, including seams and small parts. A digital pattern does not certify a finished toy as safe for any age.
Continue learning
For a related technique or project idea, explore sewing amigurumi parts and practising invisible decreases.
Explore crochet PDF patterns from Yarnivelle
Try your new stuffing and shaping skills on one of these digital amigurumi crochet projects. Every listing is a digital crochet PDF pattern, not a finished crocheted item or supplies.
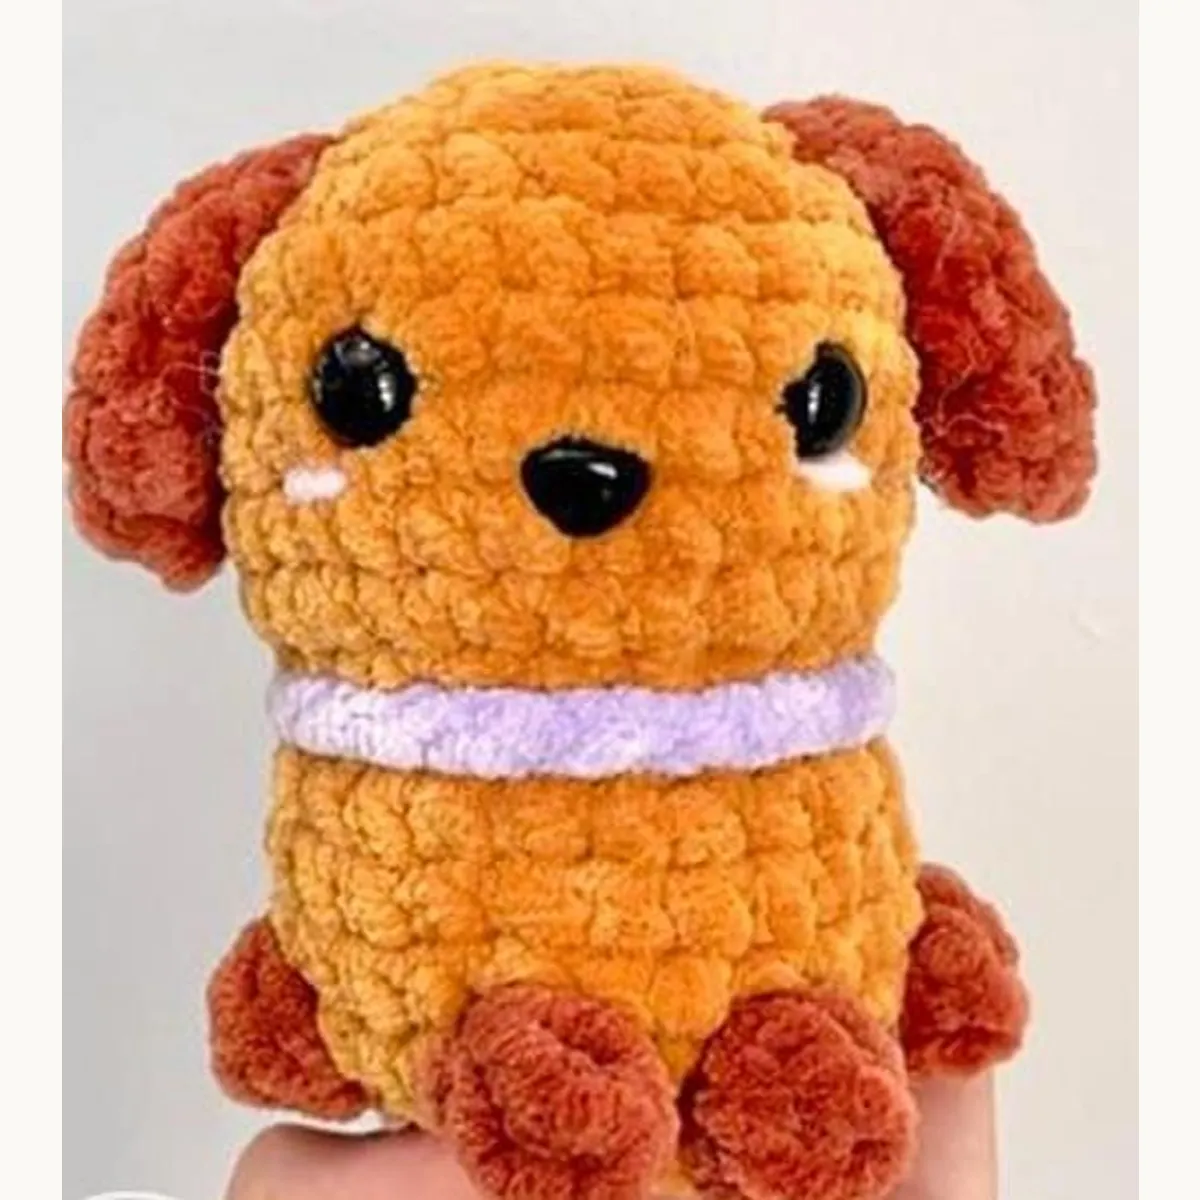

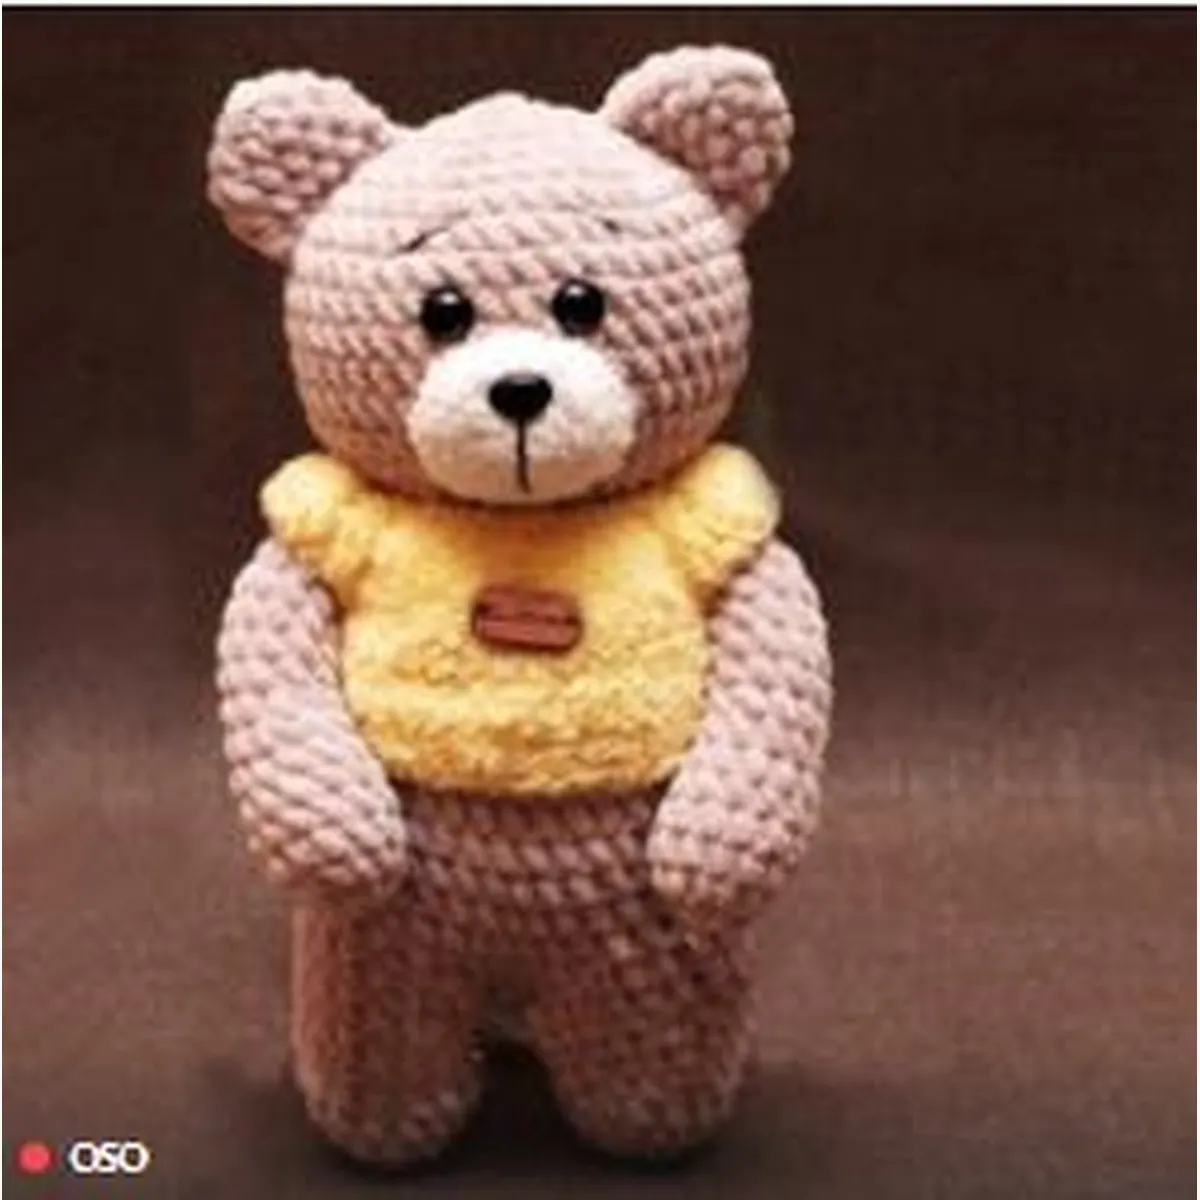
Yarnivelle note: This educational guide is general information, not a substitute for the instructions and materials of any linked pattern. Pattern PDFs are digital products; no crocheted item is shipped.
Check the shape before closing the opening
Pause while you can still reach inside the piece. Turn it in your hands and compare both sides, feeling for firm pockets of filling. Move small amounts into any hollow areas rather than forcing another large handful through the opening. Take a short break and check the silhouette again; an uneven patch is often easier to notice after looking away.
If the crochet fabric starts stretching enough to show the filling, remove a little stuffing and reassess. More filling will not correct a fabric that is too loose for the project.
For general abbreviation and yarn-symbol references, consult the Craft Yarn Council standards. Follow the terminology and stitch instructions in the particular pattern you are using.
[…] a related technique or project idea, explore stuffing techniques and choosing a first crochet […]
[…] and check the silhouette from the side. A hard overstuffed tail may not bend as intended. See how to stuff amigurumi evenly for more detailed shaping […]
[…] Yarnivelle’s ocean crochet collection. See our guide to sewing amigurumi parts and stuffing tips before assembling curved […]
[…] both show how different small-amigurumi silhouettes are built. See our hook selection guide and stuffing tutorial to plan your first […]
[…] help with the sewing stage? Read how to attach amigurumi parts neatly and how to stuff toys without lumps. These two techniques often make a bigger difference than adding extra […]
[…] have dedicated guides to stuffing amigurumi evenly and fixing holes in crochet toys. They can help you troubleshoot before completing the final […]
[…] how to stuff amigurumi without lumps and how to join animal pieces neatly if your first attempt looks […]