
This guide to crochet bag pattern for beginners covers practical choices, techniques and related Yarnivelle resources for your next crochet project.
3 essential tips to remember
- Keep the two pouch panels consistent in size and stitch count.
- Read the strap and joining directions before assembly.
- Check the finished pouch’s proportions before securing all the ends.
If you’ve made a crochet washcloth, you’re close to making a bag. This beginner crochet bag pattern turns two simple rectangles into a small open-top pouch with a strap. It’s a useful next project when you’re comfortable working rows of single crochet.
The finished pouch size depends on yarn, hook, and tension, so this tutorial focuses on stitch counts and a straightforward assembly method. Follow the pattern once as a practice piece, then adjust dimensions for your next bag.
Crochet bag pattern for beginners: supplies and pattern details
- Yarn: #4 worsted-weight cotton or a sturdy cotton blend, enough for two panels and a strap
- Hook: Approximately 4.5–5 mm, adjusted for a firm fabric
- Other tools: Yarn needle, scissors, measuring tape, stitch markers
- Skill level: Beginner who can chain, single crochet, and sew panels together
- Construction: Two matching rectangles, joined on three sides; one single-crochet strap
- Terminology: US crochet terms
This is a small lightweight accessory, not a reinforced shopping tote. Add a fabric lining if you’re carrying small objects that might poke through the stitches.
Crochet abbreviations
ch: chain; sc: single crochet; st: stitch; sl st: slip stitch; RS: right side; WS: wrong side.
The turning chain at the start of each row does not count as a stitch.
Step 1: Crochet panel A
Foundation: Chain 27.
Row 1: Starting in the second chain from the hook, sc in each chain across. (26 sc)
Rows 2–32: Chain 1, turn, sc in each stitch across. (26 sc in every row)
Fasten off and leave a long tail for sewing. Your rectangle should have reasonably straight edges. If not, count 26 stitches on the final row and compare it with Row 1.
Step 2: Make matching panel B
Repeat the same instructions: chain 27, make 26 sc on Row 1, and complete 32 rows total. Check both panels against one another before sewing. If one is noticeably wider, look for a stitch-count error or a large tension difference.
Step 3: Join the pouch
Lay the panels together with the right sides facing outward if you want a visible outer seam, or right sides together if you prefer to turn the pouch out afterward.
Use a yarn needle and matching yarn to sew down one long side, across the bottom, and up the other long side. Leave the top completely open. You can also single crochet through both layers around those three edges if you prefer a raised seam.
Secure the yarn and weave the tails through several stitches. Do not pull the seams so tight that the bag puckers.
Step 4: Crochet and attach the strap
Strap foundation: Make a chain the length you want your finished strap to be, allowing a little extra length for the attachment points. A crossbody strap generally needs to be longer than a wrist loop, so measure it against the wearer rather than relying on a universal chain count.
Strap Row 1: Sc into the second chain from the hook and in every chain across. Fasten off, leaving tails for joining. For extra strength, work one or more additional rows of sc before fastening off.
Sew one strap end securely to the inside of each upper side seam. Stitch through multiple rows of the bag so the load isn’t hanging from a single stitch. Test the strap with a lightweight item before use.
Step 5: Customize your bag
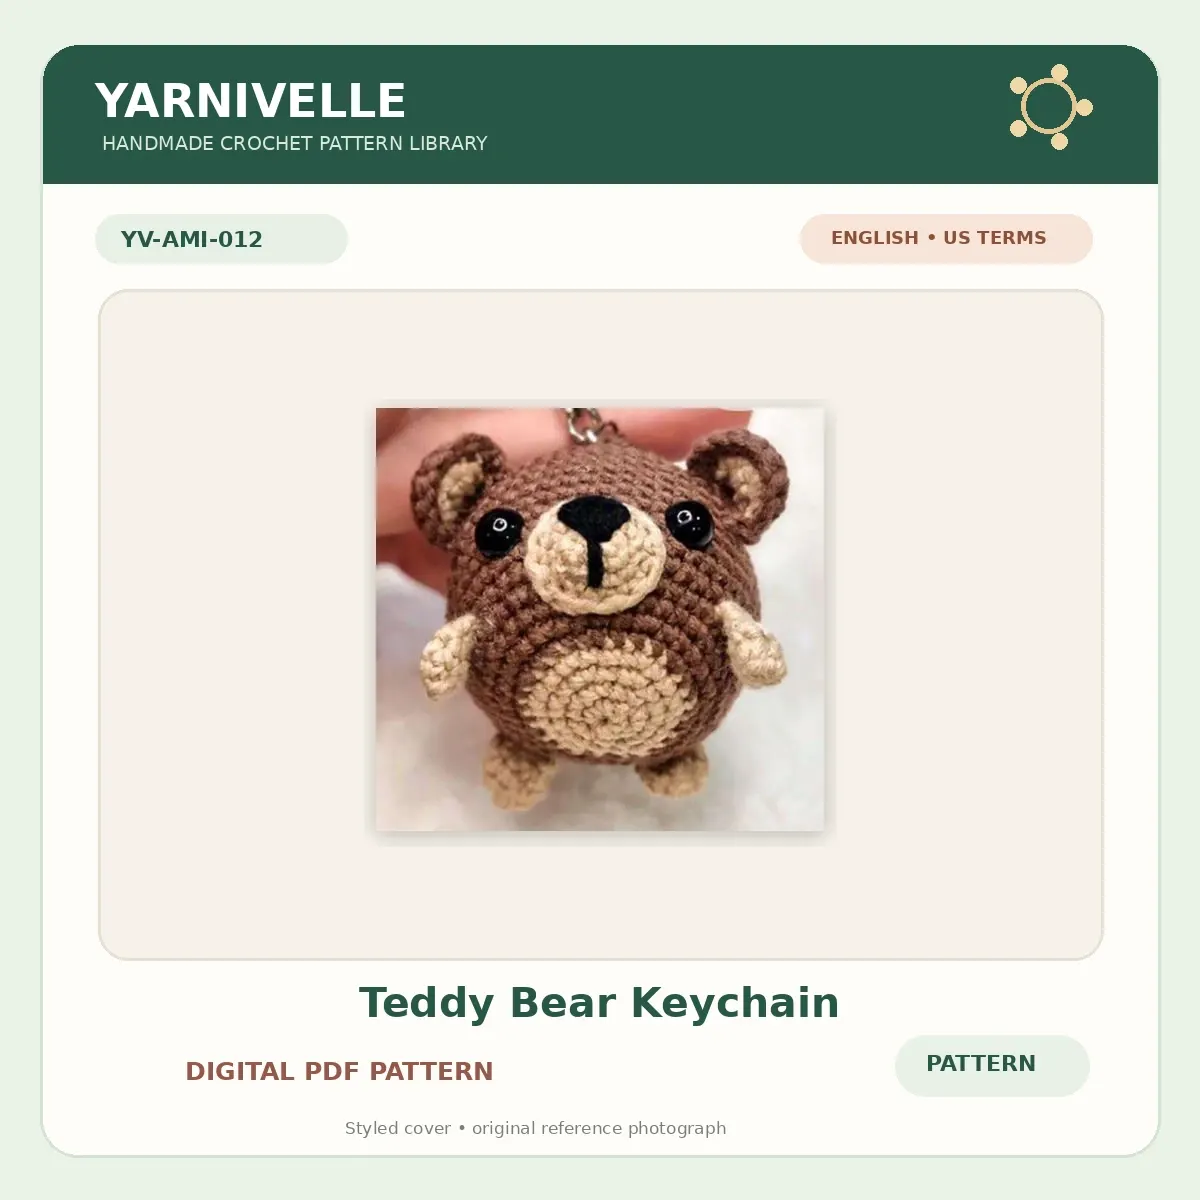
For embellishments, you could stitch on a small flower inspired by our crochet flower ideas, or add a detachable charm from the crochet keychain projects guide.
Try a contrasting border around the open edge, a fabric lining, or a crocheted flower appliqué. A single decorative motif is often all a minimalist handmade pouch needs.
If you want a closing flap, button, zipper, or magnetic snap, plan its placement and reinforcement separately. The basic version of this pattern remains open-top.
Troubleshooting a beginner crochet bag
My panels are different sizes. Count 26 stitches per row and 32 completed rows. Yarn tension may still differ; gently block both panels if the fiber allows.
The bag stretches with objects inside. Crochet fabric naturally stretches. Use tighter stitches, a sturdy fiber, or add lining; do not overload the strap.
The seams look bulky. Try mattress stitch or a matching thread, and weave tails toward the inside.
The top curls. A simple sc border around the top edge may help tidy the opening. Work evenly, without pulling the stitches too tight.
Crochet bag FAQ
Is single crochet good for bags?
Yes. It creates relatively dense fabric, although fiber choice, stitch tension, and lining influence durability.
Can I make the bag larger?
Yes. Increase the foundation chain for width and add rows for height. Make sure both panels remain identical and adjust strap strength to match the finished size.
How much yarn will I need?
It varies by yarn thickness, size and desired strap length. Weigh your first panel and use that measurement to estimate the second panel and strap; allow extra yarn for seams and a border.
If you enjoyed this project, try decorating it with a matching crochet flower. Making the bag and flower together is a lovely beginner introduction to both flat rows and circular motifs.
Continue learning at Yarnivelle
- How to Read Crochet Patterns: Abbreviations, Repeats and a Practice Row
- Easy Crochet Flower Pattern for Beginners: Free 5-Petal Tutorial
- 15 Easy Crochet Projects for Beginners You Can Actually Finish
Related crochet PDFs: Dress up your handmade crochet bag with a small motif or charm: crochet daisy flowers PDF and little hen keychain PDF. These product pages offer digital crochet instructions, not finished handmade items.
Browse more patterns and project inspiration at Yarnivelle.
Explore crochet PDF patterns from Yarnivelle
If you enjoy small handmade accessories, try a crochet keychain pattern after completing your beginner bag project. Every listing is a digital crochet PDF pattern, not a finished crocheted item or supplies.


More free crochet tutorials: Explore the Yarnivelle Crochet Blog.
For general abbreviation and yarn-symbol references, consult the Craft Yarn Council standards. Follow the terminology and stitch instructions in the particular pattern you are using.
[…] Beginner Crochet Bag Pattern: Easy Two-Panel Pouch with Strap […]