
If you know how to sew amigurumi parts together, the final assembly becomes much less intimidating. A crocheted head and body can be perfectly shaped but look crooked if the seam is placed unevenly. The trick is to plan the positions before making the first permanent stitch.
3 essential tips to remember
- Mark matching attachment positions before sewing.
- Check alignment from several angles while joins are still adjustable.
- Keep joining stitches snug without gathering the surrounding fabric.
How to sew amigurumi parts: gather simple assembly tools
You will need a blunt yarn needle, matching yarn, stitch markers or removable pins and a little patience. If a pattern asks you to leave a long yarn tail when fastening off, keep it; that tail is often intended for sewing the part onto the body. Avoid sewing through only one loose strand of the fabric.
Position everything before you sew
- Stuff the body and any attached parts according to the pattern.
- Find the front center of the body and mark it.
- Pin the ears, arms, legs or muzzle in place using the round counts as a starting guide.
- Set the toy on a flat surface and examine the placement from the front, sides and back.
- Adjust until both sides look balanced, then begin sewing.
A useful trick for matching arms is to count the visible stitches from the center marker to each attachment point. The result may not be mathematically identical on every irregular shape, but counting gives you a consistent reference.
Use small, even joining stitches
Bring the needle through a stitch on the body, then through a neighboring stitch along the edge of the attached part. Repeat around the join, distributing tension rather than pulling one large section tight. If a piece has an open base, pick up its edge loops evenly so the seam does not pucker.
Hide the final knot and tail
After securing the seam, pass the needle through the stuffed body and bring it out at a point away from the join. Trim the yarn end close to the surface only after checking that the seam is secure. The end can retract into the body instead of remaining visible. Do not use this finish for an attachment that is already loosening: reinforce it first.
What if a head leans or ears tilt?
If the head leans forward, check whether the neck opening is adequately supported and whether the head is sewn all the way around. For uneven ears, unpick only the affected section and re-pin it; pulling harder on one side rarely fixes poor placement. See our guide to stuffing amigurumi evenly for shaping help.
Patterns to practise assembly
Start with a small tiny bunny, then explore a plush puppy or browse animal amigurumi patterns with different ears and limbs. Read the exact assembly instructions in your pattern: some designers crochet the limbs directly into the body rather than sewing them on later.
Continue learning
For a related technique or project idea, explore stuffing before assembly and finishing doll hair.
Explore crochet PDF patterns from Yarnivelle
Ready to practice joining pieces? Explore these digital crochet patterns for dolls, bears and small animals. Every listing is a digital crochet PDF pattern, not a finished crocheted item or supplies.

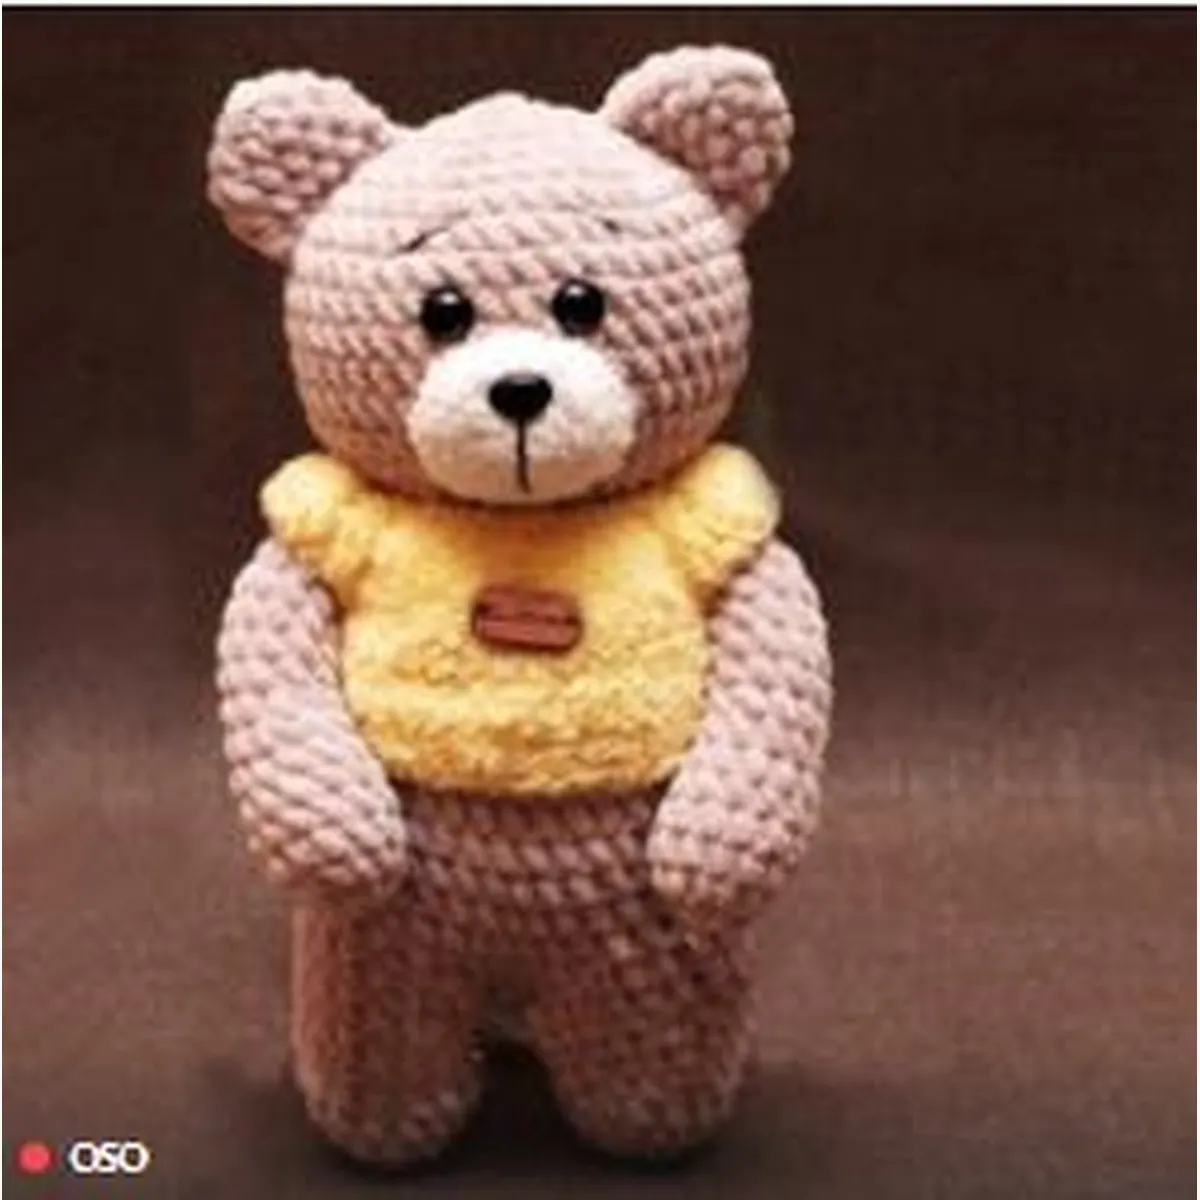
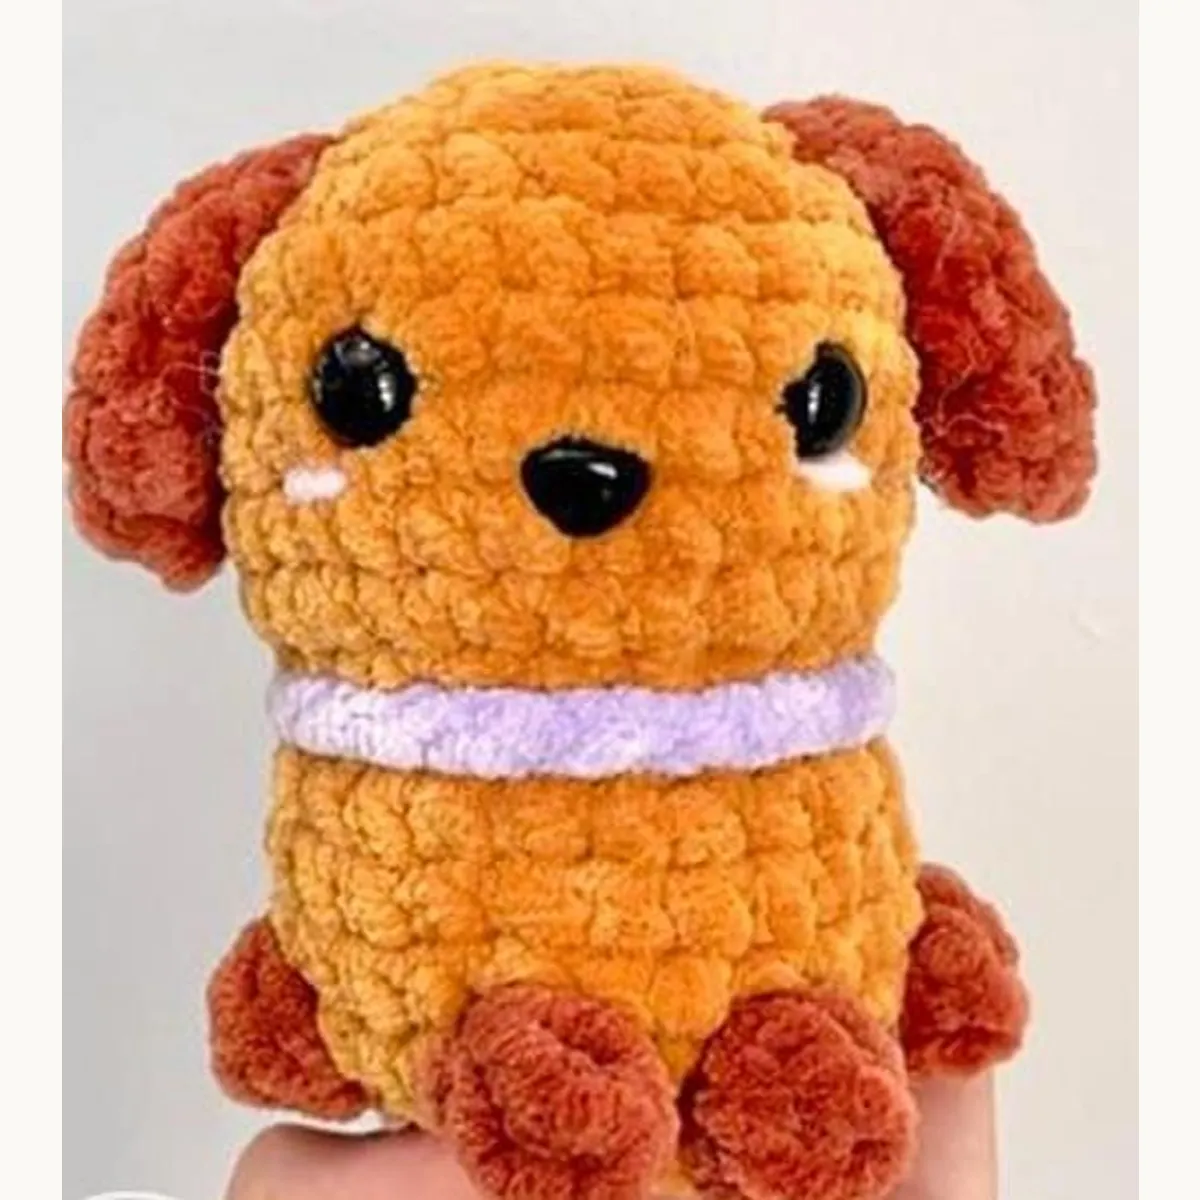
Yarnivelle editorial note: This guide is intended for crochet learning and project inspiration. Linked patterns are digital PDF instructions, not finished handmade items.
Use temporary placement marks
Before joining a pair of limbs, mark their intended positions with removable markers or pins. Check the distance from the center of the body on both sides. View the project from the front, back and above: a join that looks level from one angle may tilt from another.
Use the yarn tail specified by your pattern where possible, and keep the join snug without gathering the fabric. Check the position after the first few stitches, while it is still easy to undo. Count and remove every pin when the assembly is complete.
For general abbreviation and yarn-symbol references, consult the Craft Yarn Council standards. Follow the terminology and stitch instructions in the particular pattern you are using.
[…] Yarnivelle’s ocean crochet collection. See our guide to sewing amigurumi parts and stuffing tips before assembling curved […]
[…] a related technique or project idea, explore sewing yarn attachments and choosing doll […]
[…] without adding hardware, but all yarn tails and attachments must be secured appropriately. Use the amigurumi sewing guide if you’re new to […]
[…] consistent joining and fewer visible seams, see our guide to sewing amigurumi parts. Even a beautifully crocheted horn can appear crooked if it is attached […]
[…] our joining tutorial and invisible decrease tutorial for tidy seams and shaping. If you are new to the round […]
[…] a related technique or project idea, explore sewing on small details and crochet gift […]
[…] design ideas, browse the tiny bunny pattern, doll with yellow bow, or animal amigurumi PDFs. Our amigurumi assembly guide explains how to place features and attached pieces […]
[…] neat joins, see our amigurumi sewing guide. If shaping rounds are confusing, use the repeat-counting example in how to count crochet stitches […]
[…] how to sew amigurumi parts together neatly to learn simple positioning habits. Choose age-appropriate finishes and be mindful of any small […]
[…] a related technique or project idea, explore sewing amigurumi parts and practising invisible […]
[…] project ideas, visit Crochet Keychain Ideas. If your cap or stem looks uneven where it joins, our assembly guide can help you check placement and seam […]
[…] Many uneven-looking ears are attachment problems rather than crochet problems. Before undoing a finished ear, check whether its base is angled differently. You can learn cleaner attachment techniques in how to sew amigurumi parts together. […]
[…] a related technique or project idea, explore sewing amigurumi parts and stuffing rounded […]