
This guide to magic ring crochet covers practical choices, techniques and related Yarnivelle resources for your next crochet project.
3 essential tips to remember
- Work the stated number of stitches into the ring before tightening.
- Check that the center closes without trapping your working yarn.
- Use the guide’s chain-ring alternative if the magic ring is uncomfortable.
A crochet magic ring—also called a magic circle or adjustable ring—is a way to start crochet projects in the round with a center you can pull closed. It’s especially handy for amigurumi, circles, flower motifs, and little decorations.
If your yarn slips around or the ring won’t close, you’re not alone. Follow the steps slowly with smooth yarn and a hook that feels comfortable in your hand. These directions use US crochet terms.
What you’ll need
Use a short length of smooth light-colored yarn, a matching hook, and a pair of scissors. You’ll practice six single crochet stitches, a common first round for amigurumi. The magic ring itself is just a method of holding yarn; it isn’t a separate crochet stitch.
How to make a magic ring step by step
- Leave a yarn tail. Lay about 6–8 inches of yarn across your fingers so there will be enough tail to tighten and secure later.
- Wrap to form a loop. Bring the working yarn around two fingers, crossing it over the tail so the strands make an X.
- Insert your hook under the front strand. Catch the working yarn and pull up a loop. Hold the crossed strands in place.
- Secure the loop. Chain 1 to stabilize the ring. In the pattern below, this chain does not count as a stitch.
- Work into the center. Insert your hook through the large loop, under both the ring and tail when possible, and make one sc. Repeat until you have 6 sc in the ring.
- Close the center. Hold the stitches and pull the yarn tail gradually. The large loop should contract until the six stitches meet in a small circle.
- Continue the pattern. For a common amigurumi start, work 2 sc in each of the six stitches to get 12 stitches in Round 2.
Your first test: The center should be snug, not stretched. You should still be able to identify six individual stitch tops around the circle.

From your first magic ring to something adorable.
Use what you are learning as inspiration for a handmade amigurumi project. Explore the Easy Plush Puppy PDF for $2.99. Digital crochet instructions only; no finished toy is shipped.
A quick alternative if the magic ring feels difficult
You can also make a small foundation ring:
- Chain 4.
- Insert your hook into the first chain and join with a slip stitch to make a loop.
- Chain 1 (not counted as a stitch).
- Work 6 single crochets through the center opening.
This method leaves a more fixed center opening, but it is perfectly useful when you are learning to work in the round. A different alternative used by some amigurumi makers is a chain-2 start with stitches worked into the second chain from the hook; check your chosen pattern’s instructions.
Why a magic ring won’t tighten
You crocheted into the wrong space. Make sure your first stitches wrap around the adjustable loop, not just around a chain that won’t move.
The tail is trapped incorrectly. Try again with a bigger loop and keep the working yarn and tail distinguishable until you’re ready to pull.
The yarn is fuzzy. Textured yarn can grab onto itself. Practice with smooth cotton or acrylic first.
The ring loosens after finishing. Weave the tail thoroughly through the back of the stitches and back in the opposite direction to help secure the center. Never trim the tail immediately beside the ring.
Joined rounds versus continuous spirals
Flower appliqués often tell you to join each round with a slip stitch. Amigurumi patterns often tell you to continue in a spiral, using a stitch marker. The magic ring works with both methods; it does not determine which one your project uses.
When in doubt, read the notes at the top of the pattern. Look for an instruction such as “do not join rounds” before deciding what to do at the end of your first six stitches.
FAQ: Magic ring crochet
Is a magic ring the same as a magic circle?
Yes. The terms generally refer to the same adjustable crochet starting loop.
Why do amigurumi patterns start with six single crochets?
Six stitches are a common starting count for single-crochet circles. Your pattern may use a different number based on the shape and design.
Do I have to use a magic ring?
No. Many circles can begin with a chain ring, although the center opening may be more visible. Follow the designer’s instructions when a specific closed center matters.
Does the chain one count as a stitch?
Not in the practice rounds on this page. Other patterns can have different rules, so always follow the stated stitch count.
After your first magic ring feels comfortable, try the free Yarnivelle flower or mini amigurumi ball below. Both put this useful technique into practice.
Continue learning at Yarnivelle
After practising your starting ring, work on a compact fabric with the amigurumi hook-size guide, then see how to make an invisible decrease when shaping your first toy.
- Easy Amigurumi Patterns for Beginners: Start with a Mini Crochet Ball
- Easy Crochet Flower Pattern for Beginners: Free 5-Petal Tutorial
- How to Read Crochet Patterns: Abbreviations, Repeats and a Practice Row
Related crochet PDFs: Use your magic-ring skills as a starting point for: plush puppy crochet PDF and baby dinosaur crochet PDF. These product pages offer digital crochet instructions, not finished handmade items.
Love this tutorial? Pick your next project.
Browse real Yarnivelle crochet PDF patterns from $2.99. Each listing is a digital pattern, not a finished crocheted item.

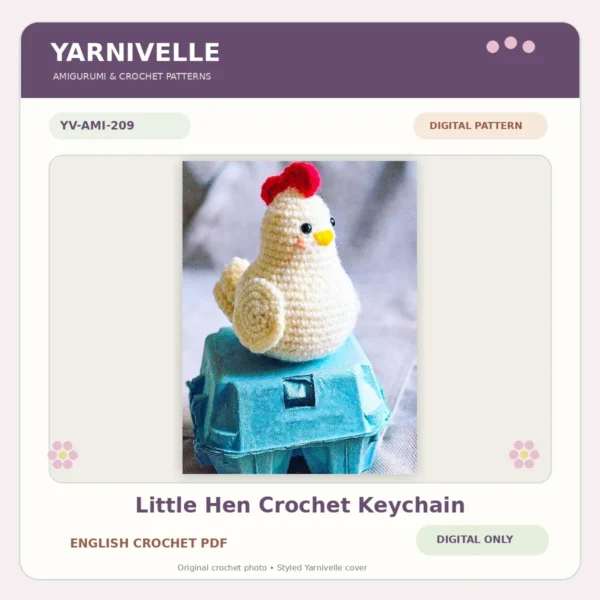

Browse more patterns and project inspiration at Yarnivelle.
More free crochet tutorials: Explore the Yarnivelle Crochet Blog.
For general abbreviation and yarn-symbol references, consult the Craft Yarn Council standards. Follow the terminology and stitch instructions in the particular pattern you are using.
[…] How to Make a Magic Ring in Crochet: Beginner Step-by-Step Guide […]
[…] puppy PDF pattern with a smaller turtle crochet PDF pattern. For the starting circle, follow our magic ring tutorial before beginning your first […]
[…] For help with the start, see how to make a magic ring in crochet. […]
[…] increases and decreases, starting with one straightforward design may be less frustrating. Use the magic ring tutorial and the abbreviations guide as learning references before tackling more complex […]
[…] examples use US crochet terms. If you are new to starting a piece in the round, begin with our magic ring tutorial and return here when you are ready to count your first […]
[…] How to Make a Magic Ring in Crochet: Beginner Step-by-Step Guide […]
[…] How to Make a Magic Ring in Crochet: Beginner Step-by-Step Guide […]
[…] See our joining tutorial and invisible decrease tutorial for tidy seams and shaping. If you are new to the round construction, start with the magic ring guide. […]