
The invisible decrease crochet technique helps reduce two stitches to one while keeping the outside of an amigurumi toy smoother. Unlike an ordinary single-crochet-two-together decrease, the technique uses the front loops of neighboring stitches. It is especially useful when shaping a round head, body or tiny paw.
3 essential tips to remember
- Pick up the front loops of two neighboring stitches for the demonstrated decrease.
- Check that each decrease reduces the stitch total by one.
- Practice on smooth yarn before using the technique in textured fabric.
Invisible decrease crochet: invisible decrease step by step
- Position the work so the right side of the amigurumi faces outward.
- Without yarning over, insert the hook under the front loop only of the next stitch.
- Insert the hook under the front loop only of the following stitch as well. You now have two front loops on the hook.
- Yarn over and pull through both front loops together.
- Yarn over again and draw through the two loops remaining on the hook. One decrease is complete.
In US terms, this is usually abbreviated inv dec. It consumes two stitches from the previous round and produces one new stitch, lowering the round count by one.
How do I check the stitch count?
Imagine a round of 24 single crochets. If the pattern calls for (2 sc, inv dec) × 6, each repeat consumes four previous stitches but produces three. The finished round therefore has 18 stitches. Count the completed stitches rather than counting how many loops went onto the hook.
Common problems and fixes
A visible horizontal bar: Check that you caught only the two front loops and that the piece is right side out. Loose gaps: Keep both loops close to the hook shaft before the first yarn over, but do not pull so tightly that the next stitch becomes difficult. Wrong total: Mark the first stitch of every round and recount each repeat before moving on.
When should I use a standard decrease instead?
A regular sc2tog can be easier on fuzzy yarn, when working from the wrong side, or whenever the designer explicitly calls for that method. Pattern abbreviations vary, so check the legend. Our crochet abbreviation guide explains how to read repeats and end-of-round counts.
Practice with amigurumi shapes
Try decreases on a small test sphere before beginning a full project. Then browse animal crochet patterns such as the little turtle or plush puppy for ideas on where rounded shaping appears. Always follow the specific instructions in the PDF you choose rather than swapping decreases without checking the design.
Continue learning
For a related technique or project idea, explore sewing amigurumi parts and stuffing rounded shapes.
Explore crochet PDF patterns from Yarnivelle
Practice tidy decreases on a project you enjoy. These individual crochet PDF patterns offer animal shapes to explore. Every listing is a digital crochet PDF pattern, not a finished crocheted item or supplies.

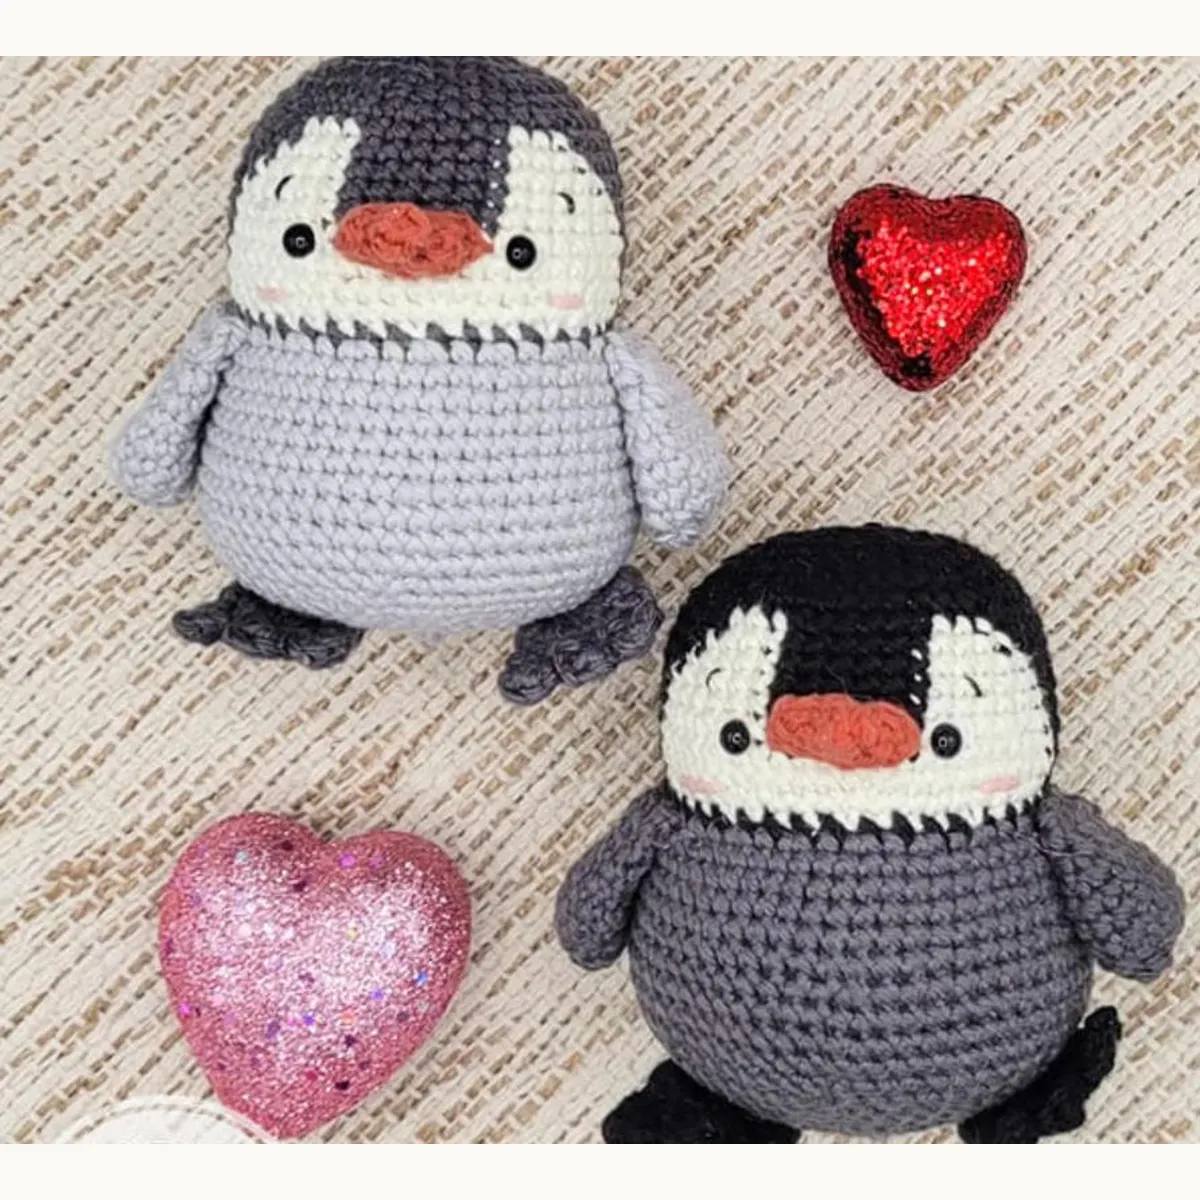
Yarnivelle note: This educational guide is general information, not a substitute for the instructions and materials of any linked pattern. Pattern PDFs are digital products; no crocheted item is shipped.
Practice the movement before using it on your toy
Work a small single-crochet sample in a smooth, light-colored yarn. Identify the two loops at the top of each stitch, then practice picking up the front loops of two neighboring stitches. Keep those loops relaxed enough to move the hook through without splitting the yarn. Compare the result with a standard decrease to see how each changes the surface.
Count the stitches after your practice row. A decrease turns two stitches into one; it should reduce the total by one each time it is worked. If the count stays unchanged, check whether you accidentally worked into a stitch twice. If the fabric tightens sharply, relax the yarn slightly before trying again.
For general abbreviation and yarn-symbol references, consult the Craft Yarn Council standards. Follow the terminology and stitch instructions in the particular pattern you are using.
[…] gap. Where the pattern permits it, an invisible decrease may give a neater appearance. Follow our invisible decrease tutorial for an illustrated-in-words […]
[…] our joining tutorial and invisible decrease tutorial for tidy seams and shaping. If you are new to the round construction, start with the magic ring […]
[…] For a related technique or project idea, explore sewing amigurumi parts and practising invisible decreases. […]