
This guide to how to resize amigurumi pattern covers practical choices, techniques and related Yarnivelle resources for your next crochet project.
3 essential tips to remember
- Expect yarn and hook changes to affect the scale and texture.
- Check small details and matching parts as well as the main body.
- Avoid multiplying all stitch counts without redesigning the shaping.
Want a mini version of your favorite crochet character or a larger plush for display? Learning how to resize an amigurumi pattern begins with yarn weight, hook size and gauge. Sometimes you can work the same instructions in a different yarn; other times the accessories and proportions need extra attention.
How to resize amigurumi pattern: why yarn thickness affects finished size
Most amigurumi patterns specify stitch counts rather than a fixed physical measurement for each stitch. Heavier yarn worked with an appropriate hook often makes larger stitches, while lighter yarn makes smaller ones. Following the same rounds can therefore produce toys of different sizes.
Make a size-comparison sample
- Write down the original yarn weight and hook size.
- Choose a replacement yarn and a hook that makes a firm fabric.
- Work a small sphere or repeated test section following the original round counts.
- Measure its diameter and note the difference from the original sample if you have one.
- Check that the stuffing does not push through large gaps.
Do not assume that doubling yarn thickness doubles finished height precisely; tension, fiber and stitch technique all affect gauge.
Watch the details when scaling down
Plastic eyes, beads, keyring hardware and decorative buttons do not automatically scale with the yarn. On a very small project, embroidery or simplified details may be more practical. Make sure all decorations are appropriate for the intended use and securely attached.
Plan additional yarn for a larger project
Large figures may consume much more yarn and stuffing than the original. Weighing a completed sample piece can help estimate material needs, but allow a margin and purchase from the same dye lot where possible. A bigger finished figure may also need stronger attachment seams.
When should you rewrite the pattern?
If you need an exact finished size or want to change only one part of the figure, swapping yarn may not be enough. Changing the count of shaping rounds can affect the entire silhouette and requires testing. For a first resizing experiment, keep the original stitch sequence.
Pattern inspirations
Compare the miniature giraffe and baby dinosaur PDF; both show how different small-amigurumi silhouettes are built. See our hook selection guide and stuffing tutorial to plan your first variation.
Explore crochet PDF patterns from Yarnivelle
Explore these projects after learning how yarn and hook size can change the scale of a finished amigurumi. Every listing is a digital crochet PDF pattern, not a finished crocheted item or supplies.
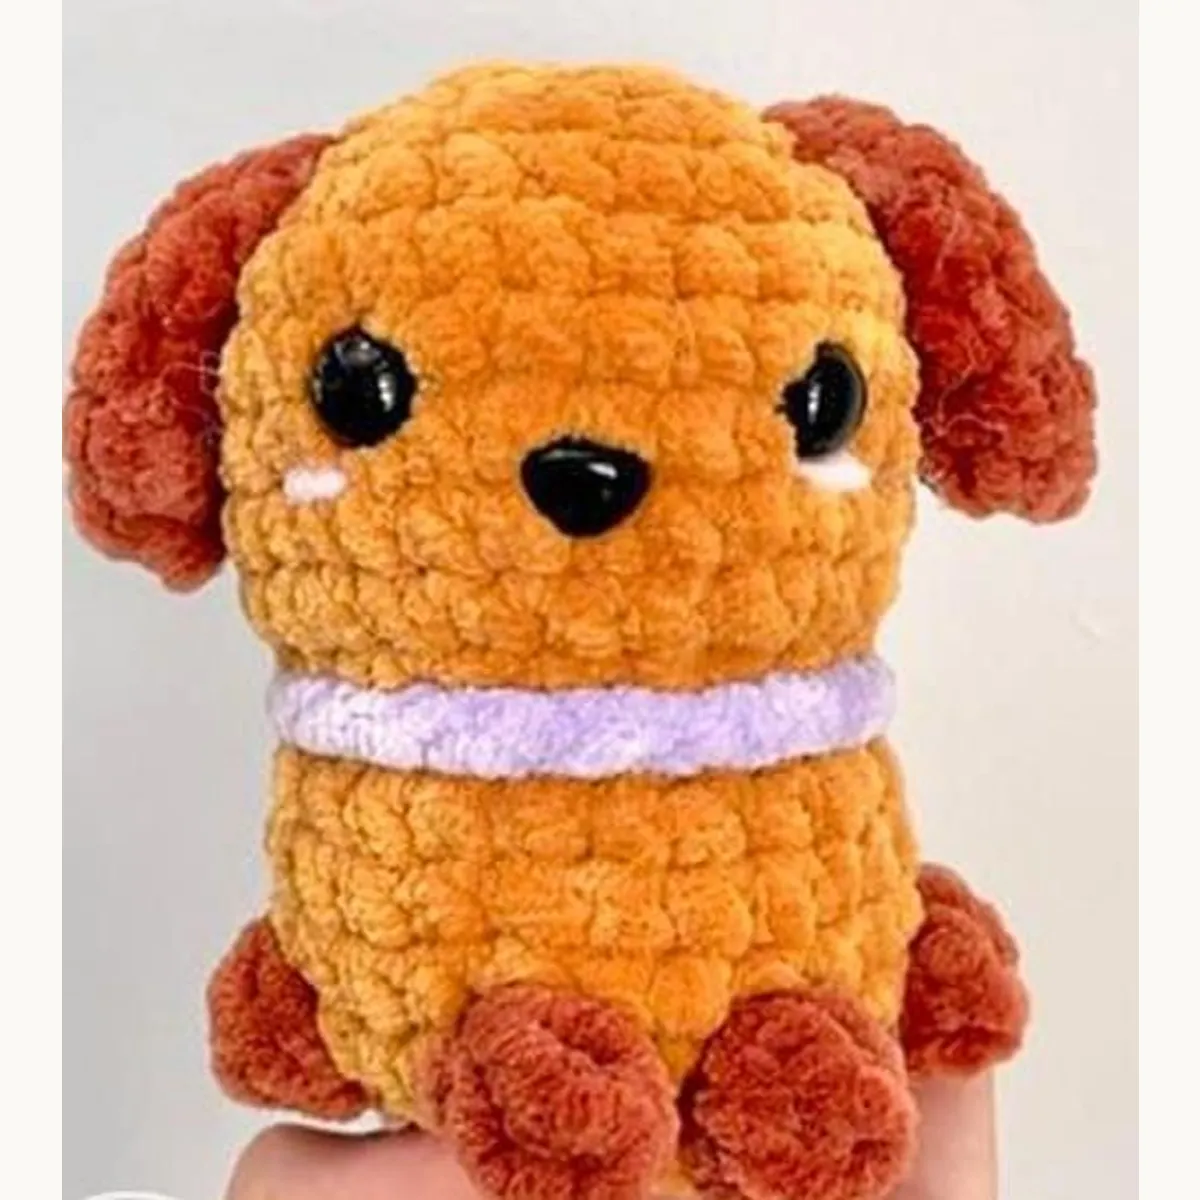

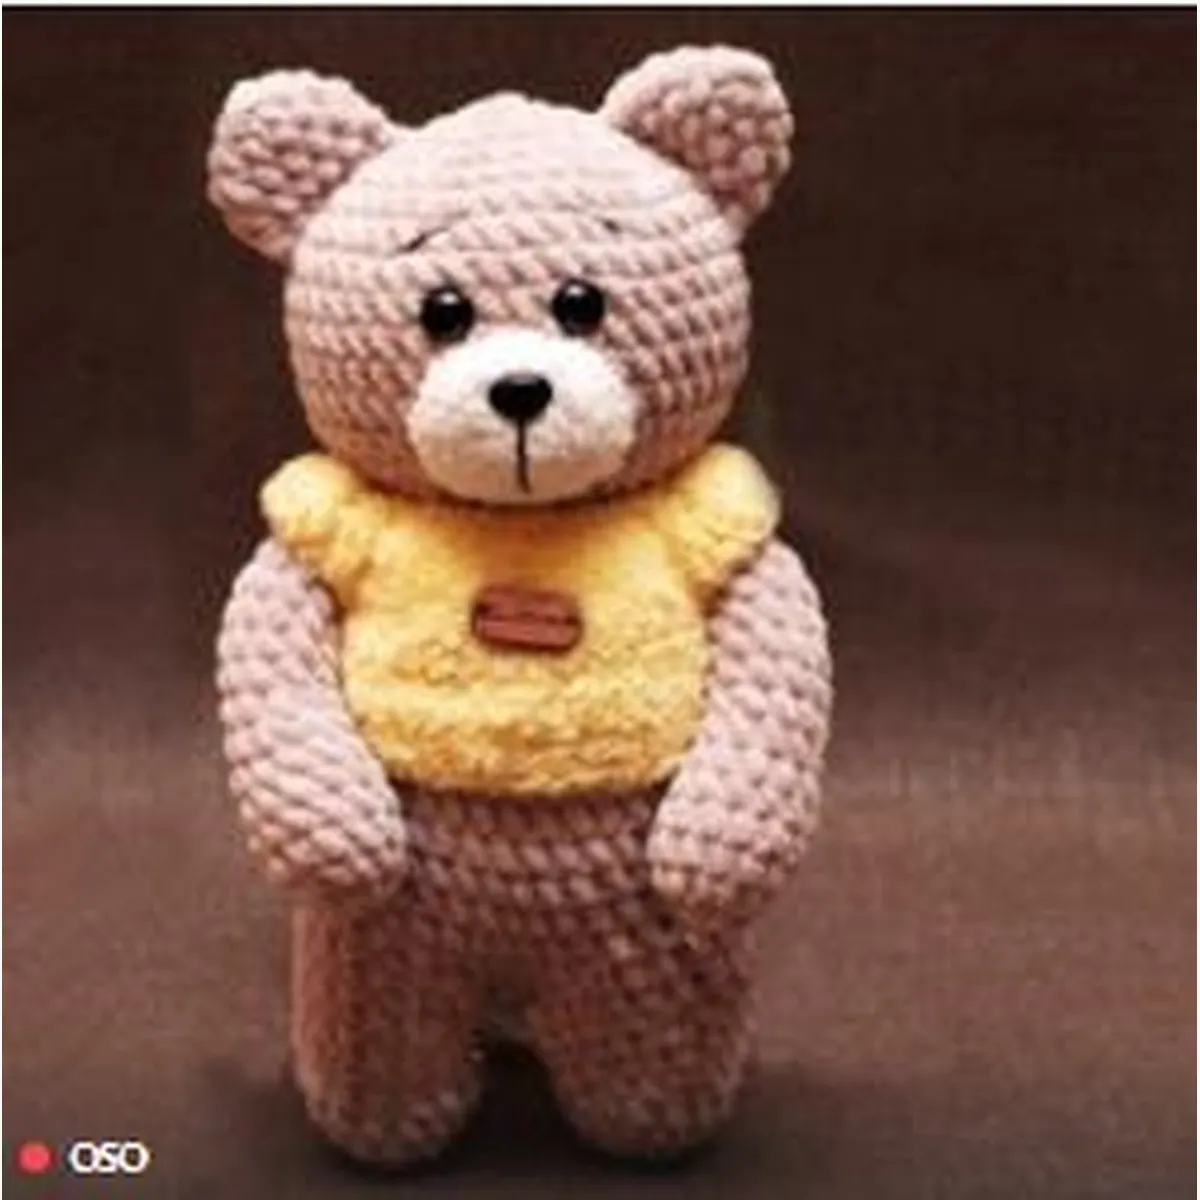
Yarnivelle note: These educational suggestions supplement, not replace, each pattern’s instructions. Linked products are digital crochet PDFs, not finished items or supplies.
Check proportions as well as overall size
Changing yarn weight can enlarge the body while making small details harder to reproduce. Before starting the full project, consider the narrowest opening and the smallest separate part. A thicker yarn may change how those pieces bend or attach even when you keep the original stitch counts.
Keep a record of both the original recommendation and your substitution. Make matching pieces with the same yarn and hook, and compare them before assembly. If your first pair of limbs differs noticeably, correct the tension or count before making the rest.
Do not multiply every instruction automatically
Adding the same number of stitches to every round does not preserve a shaped figure reliably. Increases, decreases and straight sections each contribute to the silhouette. For a major size change, choosing a pattern designed at the intended scale can be more predictable than rewriting the shaping. Treat your modified version as a test project and allow time to revise it.
For general abbreviation and yarn-symbol references, consult the Craft Yarn Council standards. Follow the terminology and stitch instructions in the particular pattern you are using.